Chilli Con Carne
Chilli Con Carne
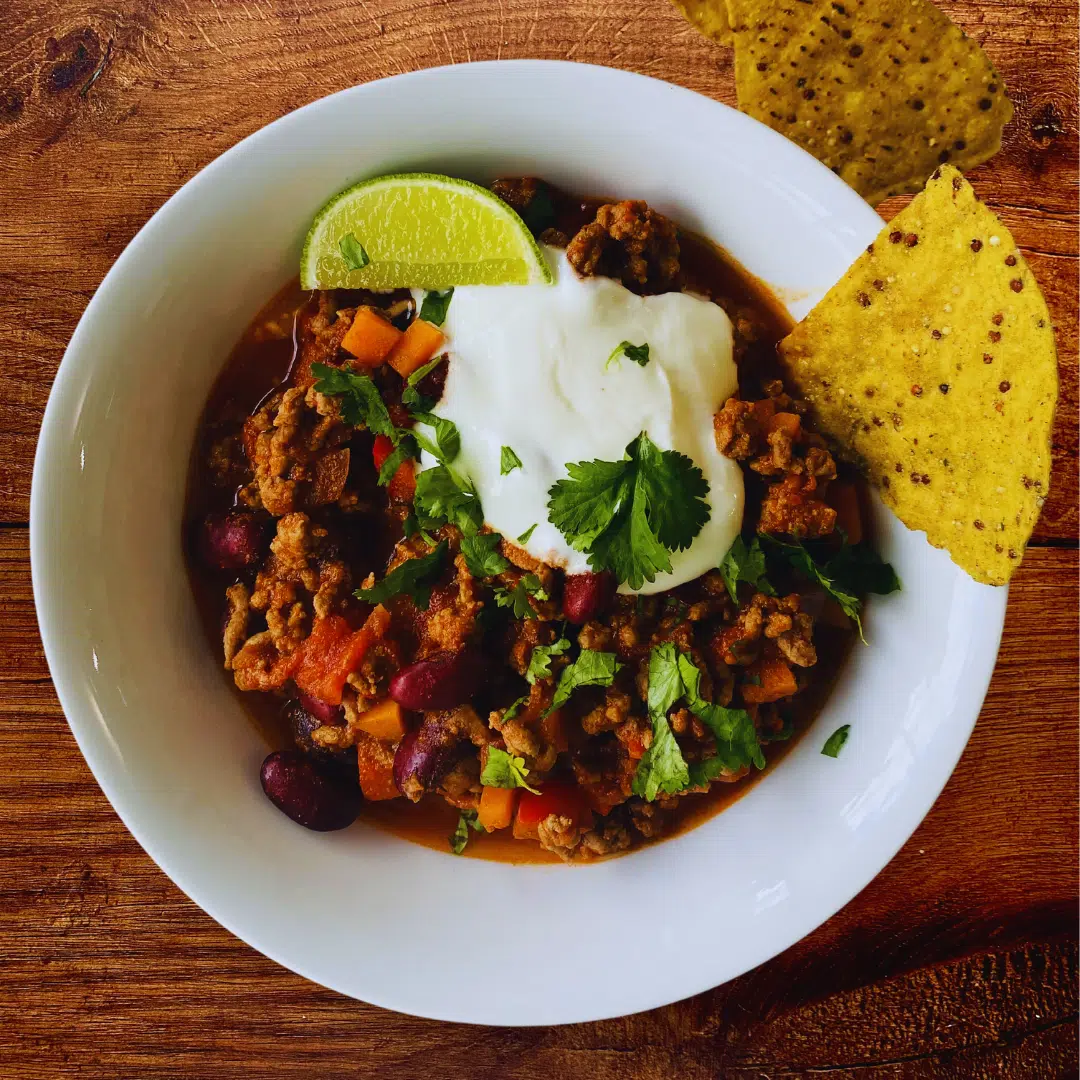
Chilli Con Carne is not only a delicious and hearty meal but also a nutritious option that’s perfect for batch cooking. This dish combines lean beef, fibre-rich beans, and a variety of vegetables, making it a balanced and satisfying choice for any meal. The smoky, slightly spicy flavours are developed over a slow simmer, creating a comforting dish that’s easy to make in large quantities. Preparing a big batch means you can enjoy a healthy, home-cooked meal throughout the week with minimal effort. It’s an excellent recipe for those looking to save time while sticking to nutritious eating habits.
Ingredient Notes
Lean Beef Mince: High in protein and essential nutrients like iron and zinc, supporting muscle growth and overall health.
Carrot: Rich in beta-carotene and fibre.
Red Onion & Garlic: Contain antioxidants and anti-inflammatory properties, supporting heart health.
Red Pepper: High in vitamin C, boosting the immune system.
Kidney Beans: A great source of plant-based protein, fibre, and essential minerals like magnesium.
Tomato Puree & Chopped Tomatoes: Packed with lycopene, an antioxidant that supports heart health.
The Recipe

Chilli Con Carne
Ingredients
Method
- Preheat oven to 180ºC.
- Drizzle 3 tbsp olive oil in a large oven dish. Slice your red onion, pepper and add it to the dish.
- Add your chicken breasts to the dish (trim off any excess fat or skin if needed).
- Add in all the seasonings (the cumin, smoked paprika, chilli powder, oregano and mixed herbs), tomato puree and tin of chopped tomatoes. Mix the stock cube in the 250ml boiled water and add that in also.
- Give it all a mix so it is well combined, make sure your chicken breasts are laying flat in the tray before putting the dish in the oven for 28 minutes.
- Once the chicken is cooked, you can use two forks to shred the chicken up, or you can slice and dice up the chicken breasts and then stir it all up in the sauce in the dish.
- To make the taco, add a little oil in the pan, heat it on low to medium heat, before putting in the tortilla. Toast the wrap both sides so it starts to go crispy, before spooning some chicken mixture on one half of the tortilla.
- This is where you can also add a little cheese, or other ingredients like sour cream or yogurt. Fold the other half of the tortilla over it, and flip it in the pan to toast both sides before serving.
Notes
Ingredient Swaps
- Lean Beef Mince: Substitute with ground turkey or minced chicken for a lighter option, or use plant-based soy mince for a vegetarian or vegan version.
- Kidney Beans: Swap with black beans for a different texture and taste.
- Cayenne Powder: Adjust the heat level by replacing with mild chilli powder if you prefer a milder dish.
- Beef Stock Cube: Use vegetable stock for a vegetarian or vegan alternative.
Serving Suggestions
Serve with fluffy white or brown rice to soak up the rich sauce.
Pair with warm, crusty bread or tortilla chips for a satisfying crunch.
Add a dollop of sour cream or Greek yogurt for a cooling contrast.
Top with fresh avocado slices and a sprinkle of cheese for added richness.
Garnish with fresh coriander and lime wedges for a fresh, zesty finish.
Storage
Chilli Con Carne is an ideal dish for freezing, which makes it even more convenient for batch cooking. Here’s how to do it.
How to Freeze Chilli Con Carne
- Allow the Chilli Con Carne to cool completely before freezing.
- Divide the chilli into individual portions or meal-sized portions. This makes it easier to defrost only what you need.
- Transfer the portions into airtight tupper ware containers or freezer bags. If you are using freezer bags, remove as much air as possible before sealing.
- Clearly label each container or bag with the date so you can keep track of how long it’s been in the freezer.
- Place the containers or bags in the freezer. Chilli Con Carne can be stored for a couple of months but please do your own research on this, and keep an eye on freezer conditions in the summer months.
How to Reheat Frozen Chilli Con Carne
- For best results, thaw the chilli overnight in the refrigerator. You can also use the defrost setting on your microwave if you’re short on time.
- Reheat on the stove over medium heat, stirring occasionally until heated through. Alternatively, you can reheat in the microwave, stirring every minute or so to ensure even heating.
We love one pot cooking and Chilli Con Carne is a tasty convenient option to have on hand for quick healthy midweek or weekend meals.
Did you make this recipe? Tag your creations @strengthkitchenrecipes on Instagram or @strengthkitchen on TikTok!

